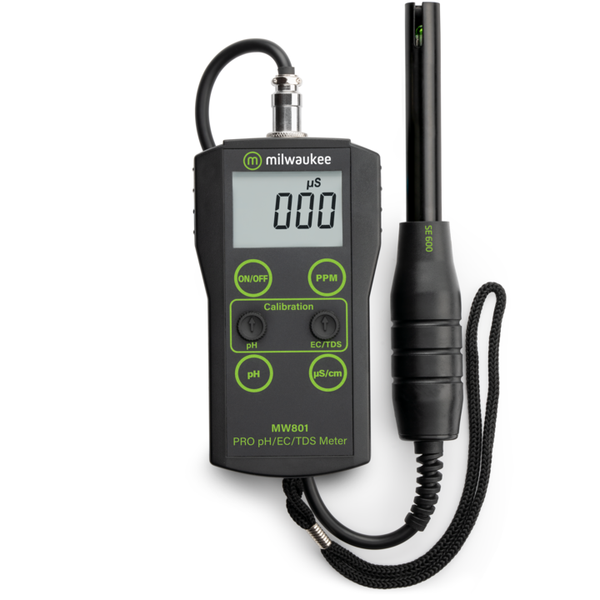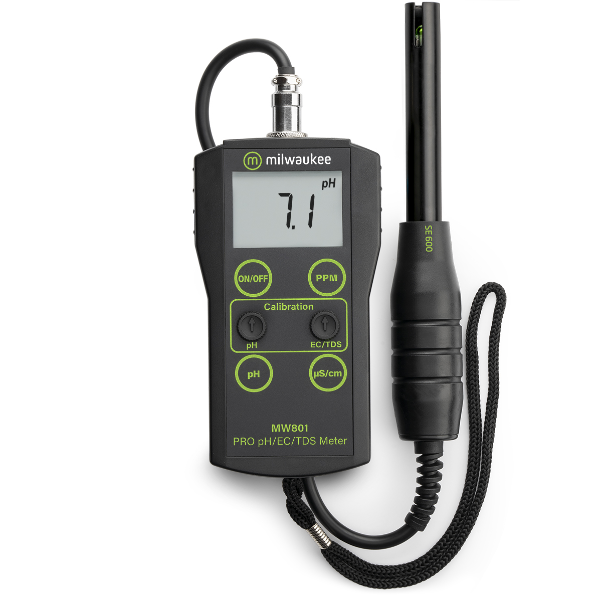
Milwaukee PRO Dissolved Oxygen Meter
| Sales Units (ea) |
| 1/ea |
Only 2 left in stock
Product Enquiry
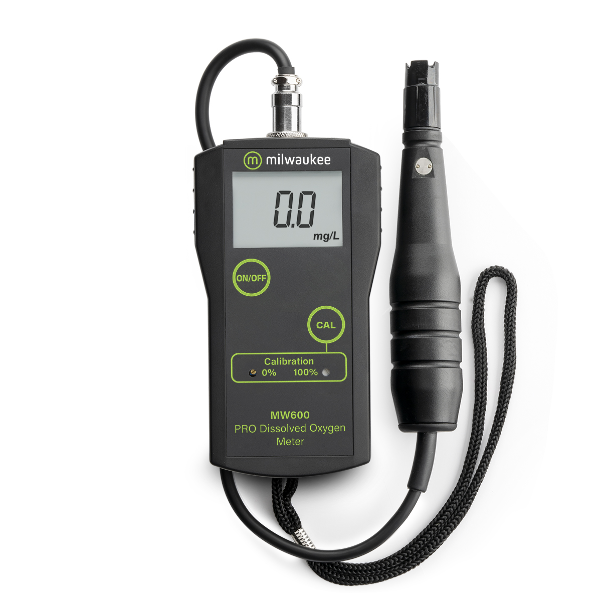
MW600 PRO portable dissolved-oxygen meter
Designed for aquaculture, environmental sampling and teaching labs where high accuracy is essential. The instrument is hand-held and rugged, but proper membrane handling and two-point calibration are still required for best results.
Main features
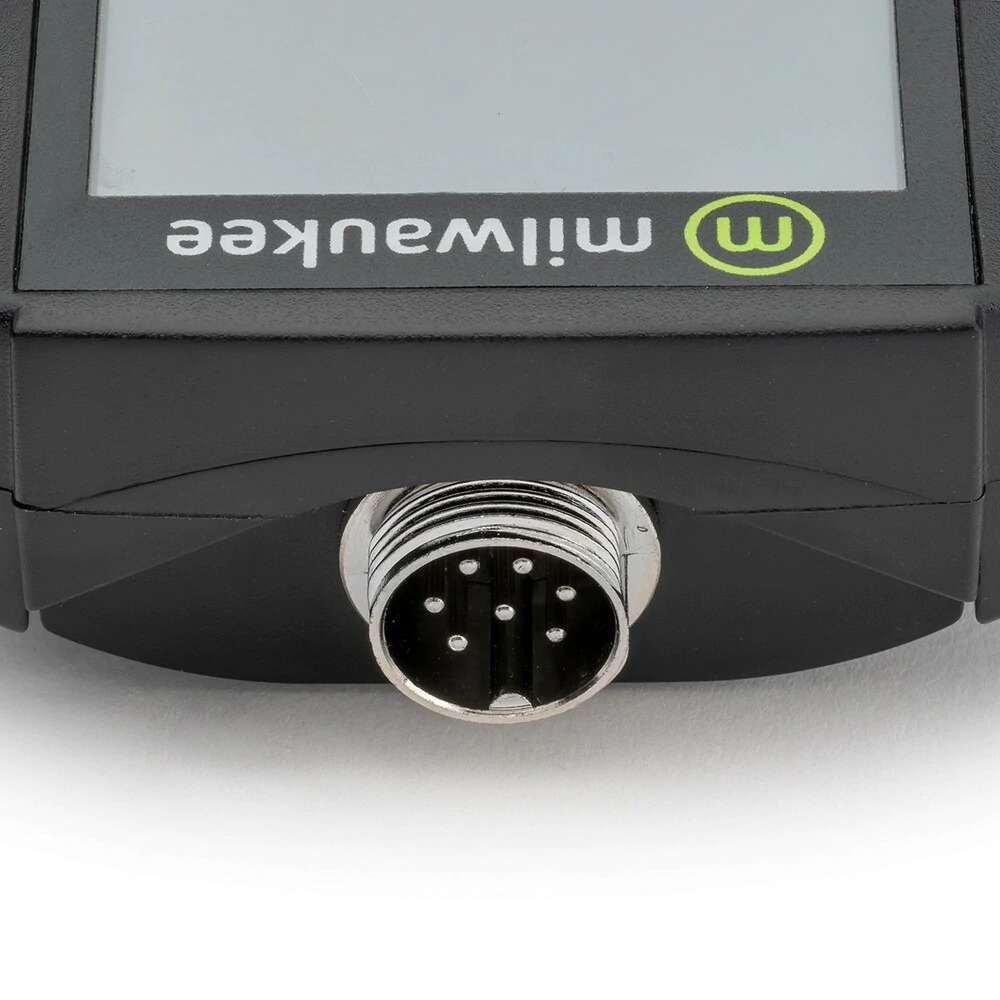
- Durable housing – compact ABS enclosure and splash-proof keypad
- Field-grade accuracy (±1.5 % F.S.) across a 0.0 – 19.9 mg L−1 range
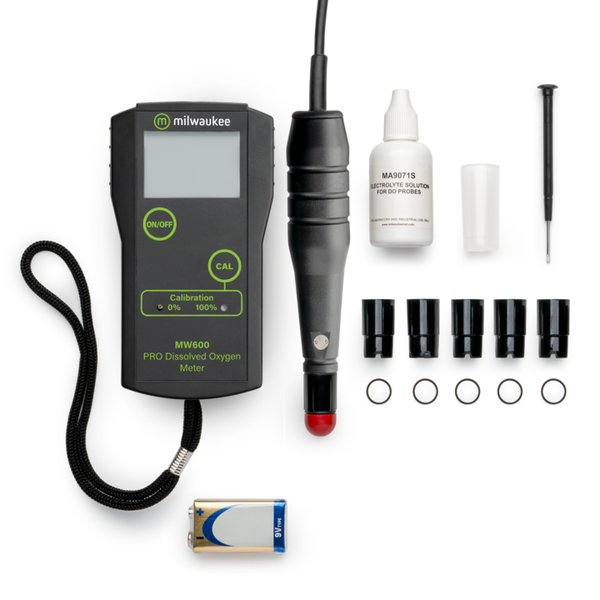
- MA840 polarographic probe – refillable; includes five replacement membranes
- Automatic temperature compensation from 0 – 30 °C
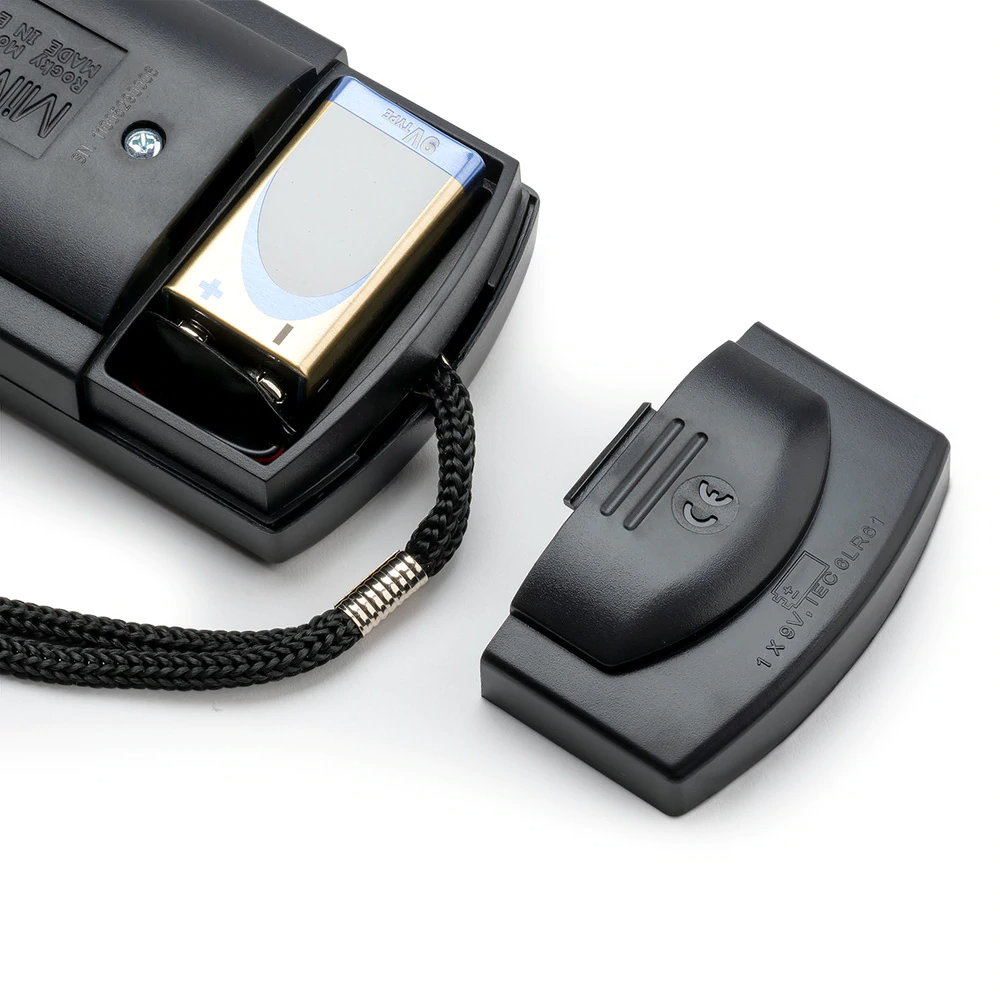
- 70 h battery life on one 9 V alkaline cell (included)
Technical specifications
| Measurement range | 0.0 – 19.9 mg L−1 |
|---|---|
| Resolution | 0.1 mg L−1 |
| Accuracy | ±1.5 % full scale |
| Calibration | Manual, two points (zero & slope) |
| Temperature compensation | Automatic, 0 – 30 °C |
| Operating conditions | 0 – 50 °C; ≤95 % RH (non-condensing) |
| Probe | MA840 polarographic, refillable |
| Membranes supplied | 5 |
| Power supply | 1 × 9 V alkaline battery |
| Battery life | ≈ 70 h continuous use |
| Dimensions | 145 × 80 × 40 mm (5.7 × 3.1 × 1.6 in) |
Note: Accurate readings depend on correct membrane installation, electrolyte refilling and regular two-point calibration. Detailed instructions are supplied in the user manual.
MW600 vs MW605 — choosing the right DO meter
| Feature | MW600 PRO | MW605 MAX |
|---|---|---|
| Probe type | MA840 polarographic (requires warm-up & stirring) | MA860 galvanic (ready immediately, built-in temp. sensor) |
| DO range (mg L−1) | 0.0 – 19.9 | 0.00 – 45.00 |
| Resolution | 0.1 mg L−1 | 0.01 mg L−1 / 0.1 % sat. |
| Accuracy | ±1.5 % full scale | ±1.5 % of reading |
| Calibration | Manual 2-point (zero & slope) | 1 or 2 points (0 % & 100 % sat.) |
| Compensation | Automatic temp. (0 – 30 °C) | Automatic temp., plus manual salinity & altitude |
| Data logging | Not available | Up to 1 000 records, USB export |
| Ingress rating | Splash-proof housing | IP67 waterproof meter & probe |
| Battery life | ≈ 70 h (1 × 9 V) | ≈ 200 h (3 × AA) |
| When to choose | Routine spot checks, teaching labs, small aquaculture tanks | Field work, high-precision research, long deployments, logging |
Tip: If you need quick startup, wider range or on-board logging, the MW605 MAX is usually the better fit. For basic dissolved-oxygen monitoring where a short probe warm-up is acceptable, the MW600 PRO remains a solid, lower-cost option.
| Weight | 0.85 kg |
|---|---|
| Testing Parameters | DO |
Milwaukee Instruments handheld testers, portable meters and stationary monitors-controllers are warranted for a period of 2 years and bench meters for 3 years. The PH600 pH Pen and versions of it have a 1 year warranty. Replaceable probes are warranted for a period of 6 months.